Click Here for Printable Version
Resources
Campers With Footlocker
Campers Without Footlocker
Overview of Footlocker Items
Footlocker Photos
Item Info
SHOPPING LISTS:
Below are additional items that are not included in your footlocker.
Click Here for Printable Version
Project 1
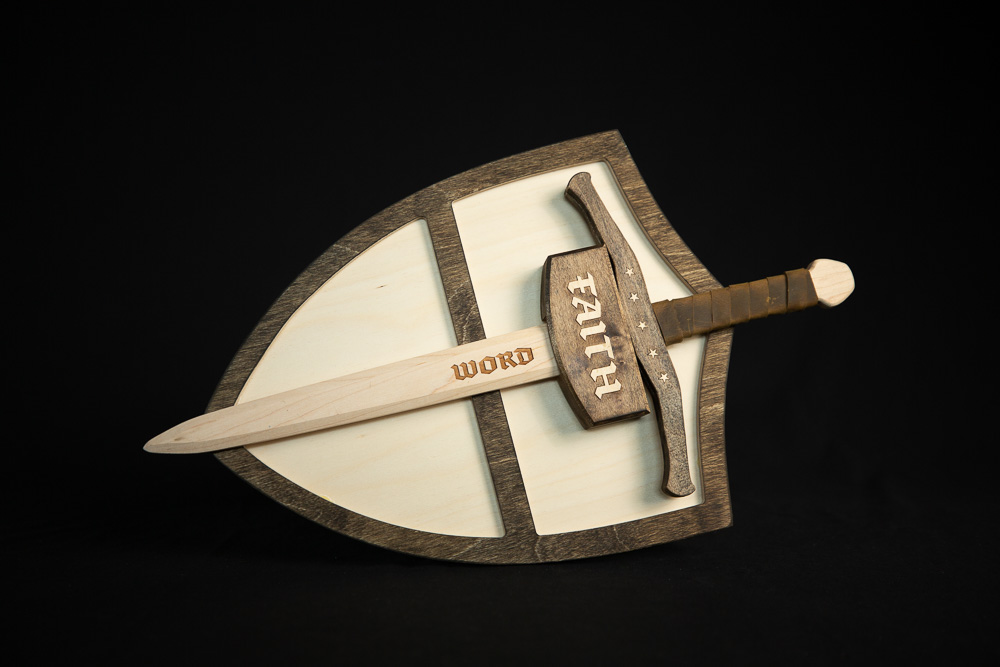
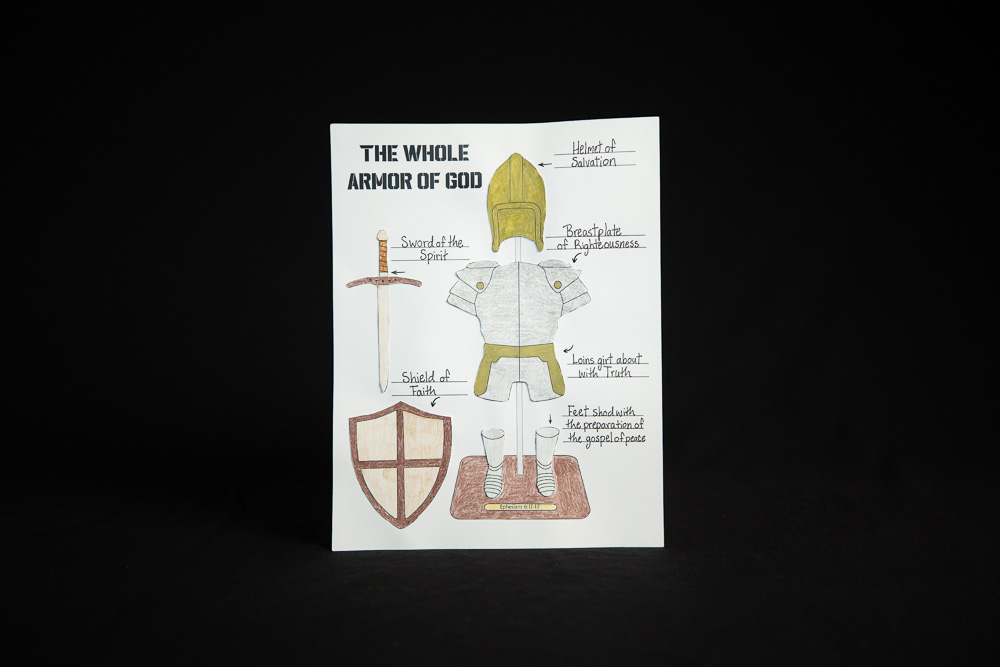
The Whole Armor of God
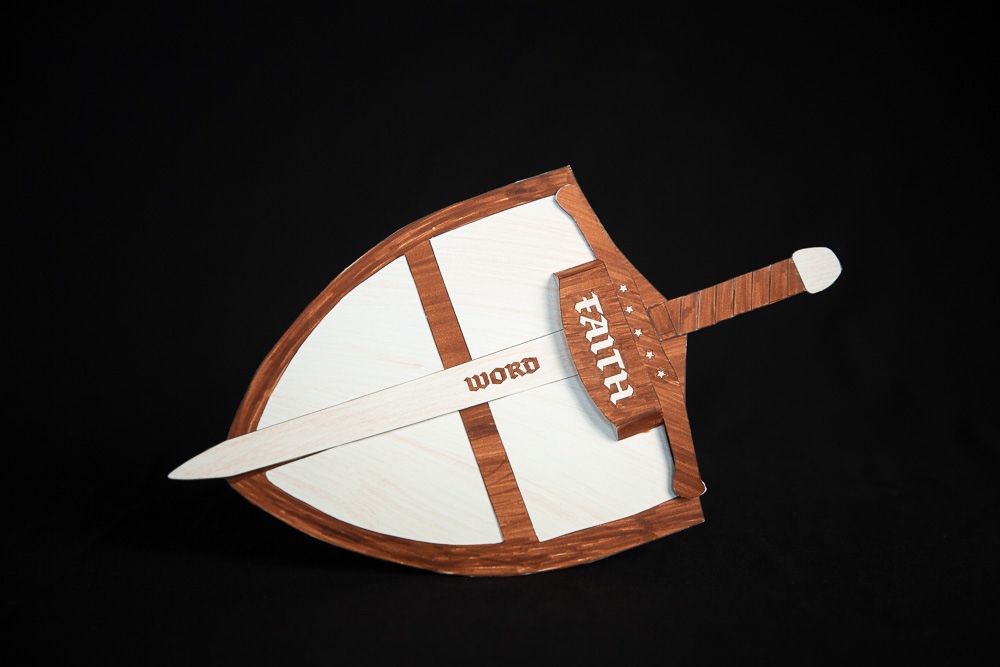
Sword and Shield Tutorial
Armor Figurine Tutorial
Tweezers
Plastic Tablecloth
Phillips Screwdriver - #1 and #2
3 Q-Tips
Lint-Free Cloth
1 Toothpick
1 Popsicle stick
- to stir stain
Project 2
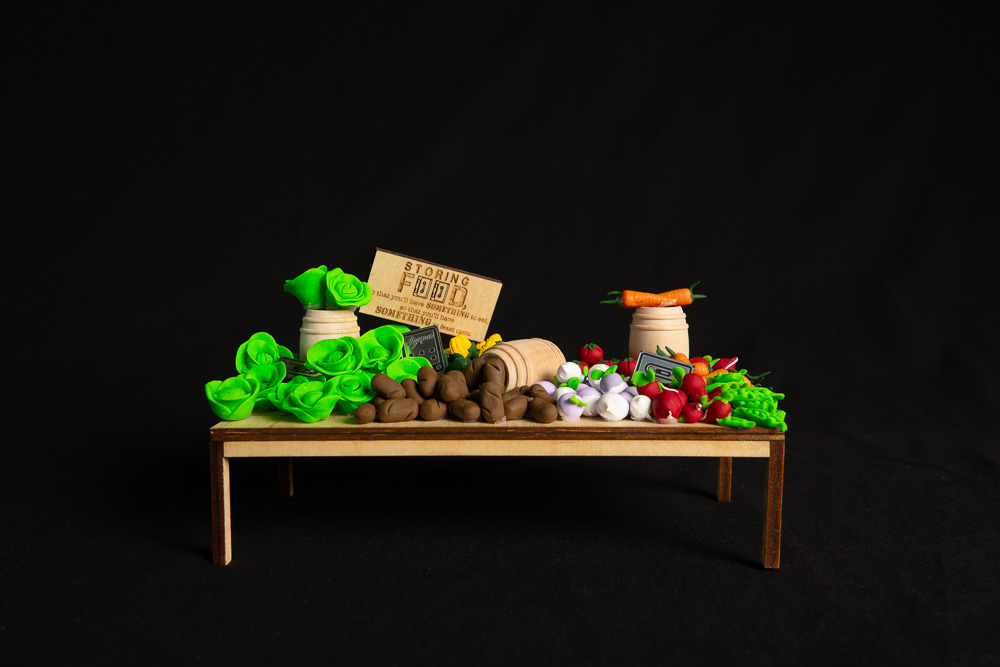
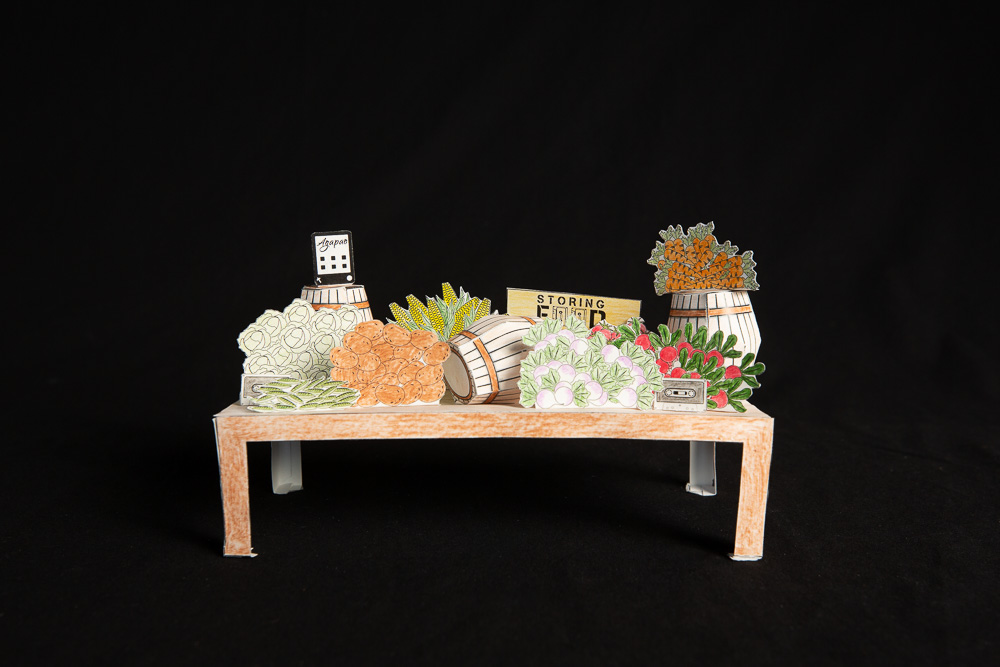
Storing Food
Storing Food Tutorial
Parchment Paper - 13"x18"
Baking Sheet Pan
Hot Glue Gun
1 Large Hot Glue Stick
Hand Wipes
Oven
(for baking clay)
Optional:
to attach barrels and vegetables
Sticky Putty
1 ounce is enough for 4 projects
Glue Dots
1 packages is enough for 3 projects
Silicone Craft Rolling Mat
for rolling clay
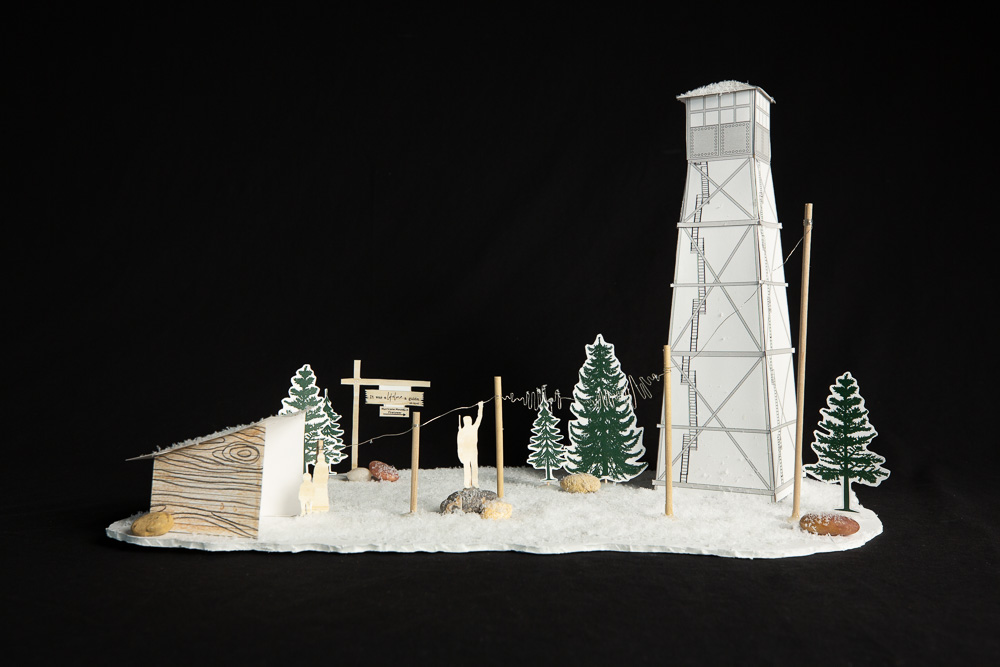
Project 3
Hurricane Mountain
Hurricane Mountain Segment 1
(original copy is in your footlocker)
Hurricane Mountain Segment 2
Mountaintop Template
Plastic Tablecloth
Large Rolling Pin
Baking Sheet Pan
Hot Glue Gun
2 Large Hot Glue Sticks
12"x12" Tin Foil
Parchment Paper - 2 8"x10" sheets
Spray Adhesive
1 - 11 ounce can is enough for 5 projects
1 Popsicle stick
- to stir stain
Optional:
Silicone Craft Rolling Mat
for rolling clay
*Bonus Project
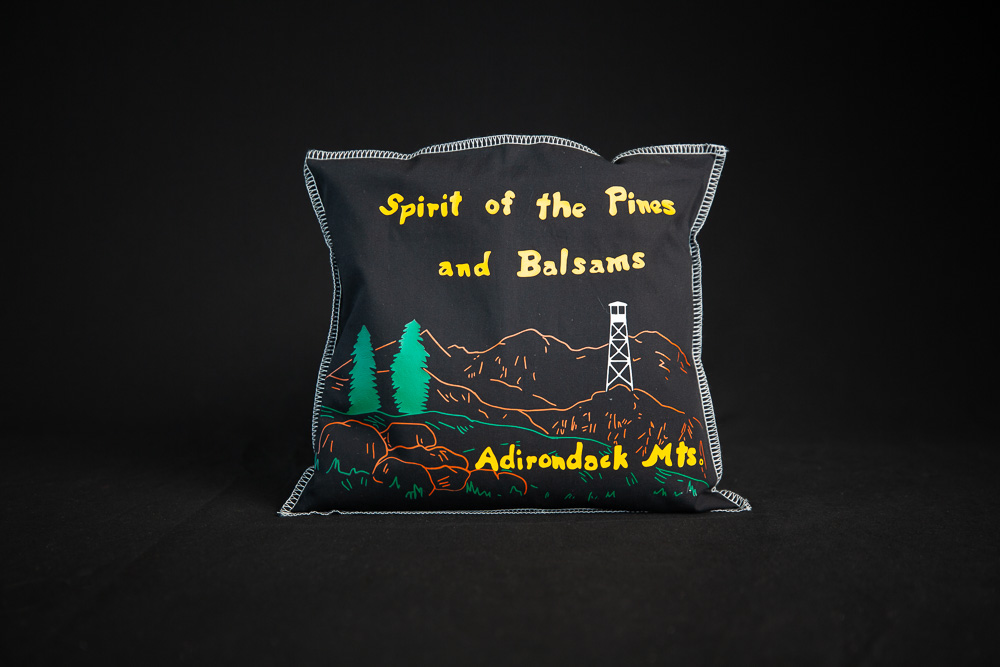
Balsam Pillow
*Complete this project anytime during the camp at your convenience.
Print Balsam Pillow Tutorial
Scissors
Parchment Paper 12"x12"
Iron
Ironing Board
Special Ops
Special Ops Ceremony PDF
Crown and Glory
Girls will need hair styling supplies: brush, comb, bobby pins, poly-bands, and hair ties.
Crown and Glory Décor
Crown and Glory Hair Product Labels
Crown & Glory Haircare Booklet
Other
*NOTE: use the instructions on the back of your transfer paper package to know how to apply to fabrics.
SWHC 2023 Schedule
Journaling Supplies: Pens, colored pencils, fine tip markers, or highlighters.
Camp Banners
(Files are very large and may not load properly on all mobile devices. We recommend downloading from a computer.)
Poster 1 - 24"x48"
Poster 2 - 24"x36"
Poster 3 - 24"x36"
T-Shirt or sweatshirt, iron, ironing board, and parchment paper
(for extra iron-on decals)
*Printable Iron-On transfer paper
(for extra iron-on decals)
Iron-on Instructions
(original copy is in your footlocker)
Bonus Shirt Iron-ons
Front
Back
Toddler
Youth/Adult
Obstacle Course
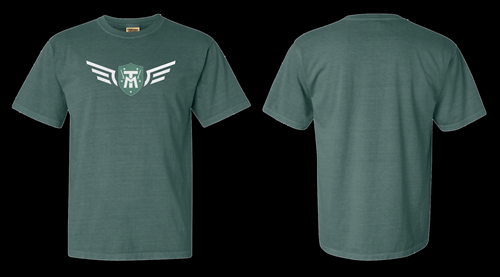
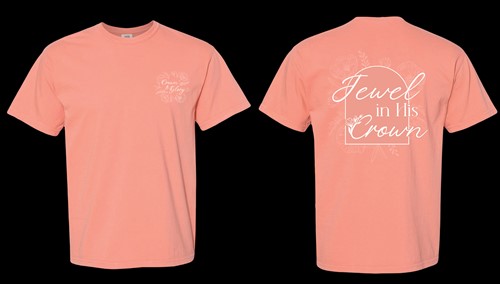
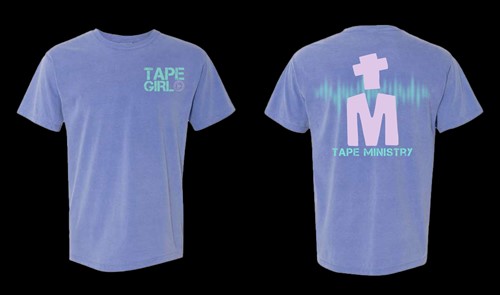
2024 Shirt Designs
Special Forces
Front - SVG
Front - PDF
Jewel In His Crown
Note: The SVG files may appear blank, but they will show up when used with a vinyl program or sent for screen printing. If you have any questions, please email
creations@youngfoundations.org
Front - SVG
Front - PDF
Back - SVG
Back - PDF
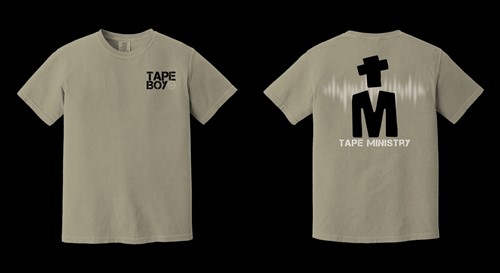
TM Tape Boy
Front - SVG
Front - PDF
Back - SVG
Back - PDF
TM Tape Girl
Front - SVG
Front - PDF
Back - SVG
Back - PDF
Table of Contents
Items to Replicate Footlocker
Printables
Other
Special Ops
Crown and Glory
Project 1 - The Whole Armor of God
Project 2 - Storing Food
Project 3 - Hurricane Mountain
Bonus Project - Balsam Pillow
To Replicate Other Footlocker Items
Click on the live links to get your own Camp Footlocker items!
Supplies:
Footlocker
Option 1
Option 2
Option 3
Footlocker Lock
Trunk Lid Organizer
Option 1
Option 2
Bible
Option 1
Option 2
Bible Bag
Adult T-Shirts - color Iron Gray
Option 1
Option 2
Option 3
Youth T-Shirts - color Iron Gray
Option 1
Option 2
Lock Box
S.T. 37 Solution
Ammo Can
Printables
SWHC 2023 Schedule
Pillar of Fire & Hofmann's Head of Christ PDF
16"x20" Atomic Bomb Poster
Tape Quiz Book
Decal Stickers
Project and Packaging Labels
Camp Banners
(Files are very large and may not load properly on all mobile devices. We recommend downloading from a computer.)
Poster 1 - 24"x48"
Poster 2 - 24"x36"
Poster 3 - 24"x36"
Journal Covers
Front Cover (boys)
Front Cover (girls)
Back Cover
Camp Logo Iron-ons
Boys
Front Logo
Back Logo (small)
Back Logo (large)
Girls
Front Logo
Back Logo (small)
Back Logo (large)
Bonus Shirt Iron-ons
Front
Back
Toddler
Youth/Adult
Other
Journaling Supplies: Pens, colored pencils, fine tip markers, or highlighters.
Obstacle Course
T-Shirt or sweatshirt, iron, ironing board, and parchment paper
(for extra iron-on decals)
*Printable Iron-On transfer paper
(for extra iron-on decals)
Special Ops
Special Ops Ceremony PDF
Special Ops Medals PDF
Special Ops Ceremony Patches PDF
Crown and Glory
Girls will need hair styling supplies: brush, comb, bobby pins, poly-bands, and hair ties.
Crown and Glory Décor
Crown and Glory Hair Product Labels
Crown & Glory Haircare Booklet
Project 1
The Whole Armor of God
Option 1: Replicate SWHC Project
Shopping List:
Material of Choice to build Sword and Shield
Sword Options
- choose the size that fits you best
12" sword
18" sword
20" sword
Shield Options
- choose the size that fits you best
9" shield
14" shield
Star Options
Option 1
Option 2
Wood Letters
Wood Stain - Dark Walnut
Leather Wrap
Clamp
Sponge Brush
Saw-tooth Hanger
2 - Micro Screws
4 - 1/2" Screws
1 - 3/4" Screw
2 - 1" Screws
1 Popsicle stick
- to stir stain
Super Glue
Wood Glue
Q-Tips
Phillips Screwdriver - #1 and #2
Plastic Tablecloth
Gloves
Prep Before Camp:
Print Sword and Shield Tutorial
Print Sword and Shield Pieces
- use this if building your own
Option 2: Print & Color Version
Shopping List:
5 Sheets of Cardstock
Scissors
Glue Stick
Crayons, colored pencils, or markers
silver
gold
light brown
medium brown
dark brown
Prep Before Camp:
Print Sword and Shield Print and Color Project
Print The Whole Armor of God Print and Color Project
Project 2
Storing Food
Option 1: Replicate SWHC Project
Shopping List:
Clay: for 1 project
1 strip - Bright Green
1 pack - Granny Smith
1/2 strip - Lilac
1 strip - White
2 strips - Red
1 strip - Leaf Green
1 strip - Cadmium Yellow
1 pack - Light Brown
1 strip - Burnt Orange
Clay Shaping Tools
Knife Tool
2 Double-ended Tools
Mini Rolling Pin
3 Barrels
Baking Sheet Pan
Parchment Paper - 13"x18"
Hot Glue Gun
1 Large Hot Glue Stick
Hand Wipes
Oven
(for baking clay)
** Supplies needed if not using wood table. Reinforce table with cardboard when using paper table with clay.
12"x24" Cardboard
- to reinforce table
3 Sheets Cardstock
Optional:
to attach barrels and vegetables
Sticky Putty
1 ounce is enough for 4 projects
Glue Dots
1 packages is enough for 3 projects
Silicone Craft Rolling Mat
for rolling clay
How to separate your clay for each vegetable:
Potatos
- 1 pack light brown
Carrots
- 1 strip burnt orange and 1/4" leaf green
Tomatoes
- 1 strip red and 1/4" leaf green
Corn
- 1 strip cadmium yellow and 1/2 strip leaf green
Peas
- 1/2 strip bright green
Radishes
- 1 strip red, 1/4 strip white, and 1/4" bright green
Turnips
- 1/2 strip lilac, 3/4 stirp white, and 1/4" bright green
Cabbage
- 1 pack granny smith
Prep Before Camp:
Print Storing Food Tutorial
**Color and Build your table
Separate your clay into 7 bags for each vegetable
Print Storing Food Wood Pieces
- use this for wood version
Print Storing Food Paper Pieces
- use this for paper version
Option 2: Print & Color Version
Shopping List:
5 Sheets of Cardstock
Scissors
Glue Stick
Colored Pencils or Crayons
Prep Before Camp:
Print Storing Food Print and Color Tutorial
Color and Build your table
Project 3
Hurricane Mountain
Option 1: Replicate SWHC Project
Shopping List:
Lean-to kit
3 - 5/16" Dowel Rods (cut to sizes specified)
4"x4" 1/8" plywood square roof
1 ounce Gunstock Wood Stain
1 can is enough for 32 projects
1 Popsicle stick
- to stir stain
Small Sponge Brush
Moss
(enough to cover 4"x4" square) 1 bag enough for 5 projects
2 ounce White Acrylic Paint
- to paint the wood base
Large Paintbrush
1/2 lb. Granite Sculpey Clay
1 package enough for 2 projects
50" 26-gauge wire
- 1 roll enough for 77 projects
4 ounces Artificial Snow
1 bag enough for 30 projects
5 Trees - variety of sizes from 3" to 5"
Option 1
Option 2
Option 3
- styles S0808, S0810, S0812
5 Telephone Poles
1 - 36"x3/16" dowel (cut into sizes specified)
Spray Adhesive
1 - 11 ounce can is enough for 5 projects
Plastic Tablecloth
Hot Glue Gun
2 Large Hot Glue Sticks
Elmer's Craft Glue
Parchment Paper - 2 8"x10" sheets
12"x12" Tin Foil
Large Rolling Pin
Gloves
10 Rocks
- variety of sizes, largest being 1 1/2"
Baking Sheet Pan
Scissors
Tape
Needle-nose Pliers
Supplies needed if not using wood.
14"x25" White Foam Core Board
7 Sheets of Cardstock
3 Toothpicks
Glue Stick
Brown Colored Pencil or Crayon
Optional:
for rolling clay
Silicone Craft Rolling Mat
Size chart for:
Lean-to dowels
21
- 3"x 5/16" Dowel Rods
2
- 1 1/2"x 5/16" Dowel Rods
2
- 1"x 5/16" Dowel Rods
Telephone dowels
1
- 9"x 3/16" Dowel Rod
1
- 5"x 3/16" Dowel Rod
1
- 4"x 3/16" Dowel Rod
1
- 3"x 3/16" Dowel Rod
1
- 2"x 3/16" Dowel Rod
Prep Before Camp:
Print Hurricane Mountain Segment 2
Print Hurricane Mountain Wood Pieces
- use this for wood version
Print Hurricane Mountain Wood Tower
- use this for wood version
Print Hurricane Mountain Pieces
- use this for paper version
Print Hurricane Mountain Mountaintop Template
Print and Cut out your **23.5"x12.9" Base
**Paint your base
if wooden base
Cut out your diorama pieces
Cut your dowels to size
Form your waveform wire
- template can be found in Hurricane Mountain Pieces
Option 2: Print & Color Version
Shopping List:
White Foam Core Board 25"x14"
- for base
50" 26-gauge wire
4 ounces Artificial Snow
1 bag enough for 30 projects
Spray Adhesive
1 - 11 ounce can is enough for 5 projects
10 Rocks
- variety of sizes, largest being 1 1/2"
5 - 9" Craft sticks or skewers
- for telephone poles
Hot Glue Gun
Hot Glue Stick
Plastic Tablecloth
7 Sheets of cardstock
9 Toothpicks
Glue Stick
Scissors
Colored Pencils or Crayons
brown
Tape
Needle-nose Pliers
Prep Before Camp:
Print Hurricane Mountain Print and Color Project
Print and Cut out your 23.5"x12.9" Base
Cut your craft sticks or skewers to size
Form your waveform wire
Size chart for:
Telephone Poles
1
- 9"
1
- 5"
1
- 4"
1
- 3"
1
- 2"
Bonus Project
Balsam Pillow
*Complete this project anytime during the camp at your convenience.
Sewing Pillowcase and Pillow Insert
Shopping List:
12"x26" Black Cotton Fabric
12"x23" Black Stabilizer Material
3/4" wide Velcro - 5" length
Sewing Machine
Serger Machine
Black Thread
for sewing
White Thread
for serging or zigzagging
Scissors
Sewing Needle
Ruler
Seam Gauge
Pins
Iron
Ironing Board
Prep Before Camp:
Print Balsam Pillow Sewing Tutorial
Sew up the pillowcase and pillow insert
Pillow Insert
Pillowcase
Option 1: To Replicate Footlocker Project With Vinyl Cutter Machine
Shopping List:
Pillowcase
Pillow Insert
Balsam - 1 lb. per pillow
Heat Transfer Vinyl
- 15"x12" roll
Mustard Yellow - 8"x5"
(3 projects per roll)
Red/Orange - 12"x6"
(2 projects per roll)
Green - 12"x6"
(2 projects per roll)
Silver - 2"x3"
(25 projects per roll)
Parchment Paper - 12"x12"
Scissors
Iron
Ironing Board
Prep Before Camp:
Print Balsam Pillow Tutorial
Cut out your Heat Transfer Vinyl Files
Green Vinyl Piece
Yellow Vinyl Piece
Red Vinyl Piece
Silver Vinyl Piece
Option 2: For Printable Version Without Vinyl Cutter Machine
**NOTE: When using this version of the project, you will apply your printed transfer paper and start on step 5 of the Balsam Pillow Tutorial.
Shopping List:
Pillowcase
Pillow Insert
Iron-On Transfer Paper
1 sheet
Balsam - 1 lb. per pillow
Parchment Paper - 12"x12"
Scissors
Iron
Ironing Board
Prep Before Camp:
**
Print Balsam Pillow Tutorial
Print and trim up Printable Transfer Paper Balsam Pillow
SWHC Tutorial Music
download